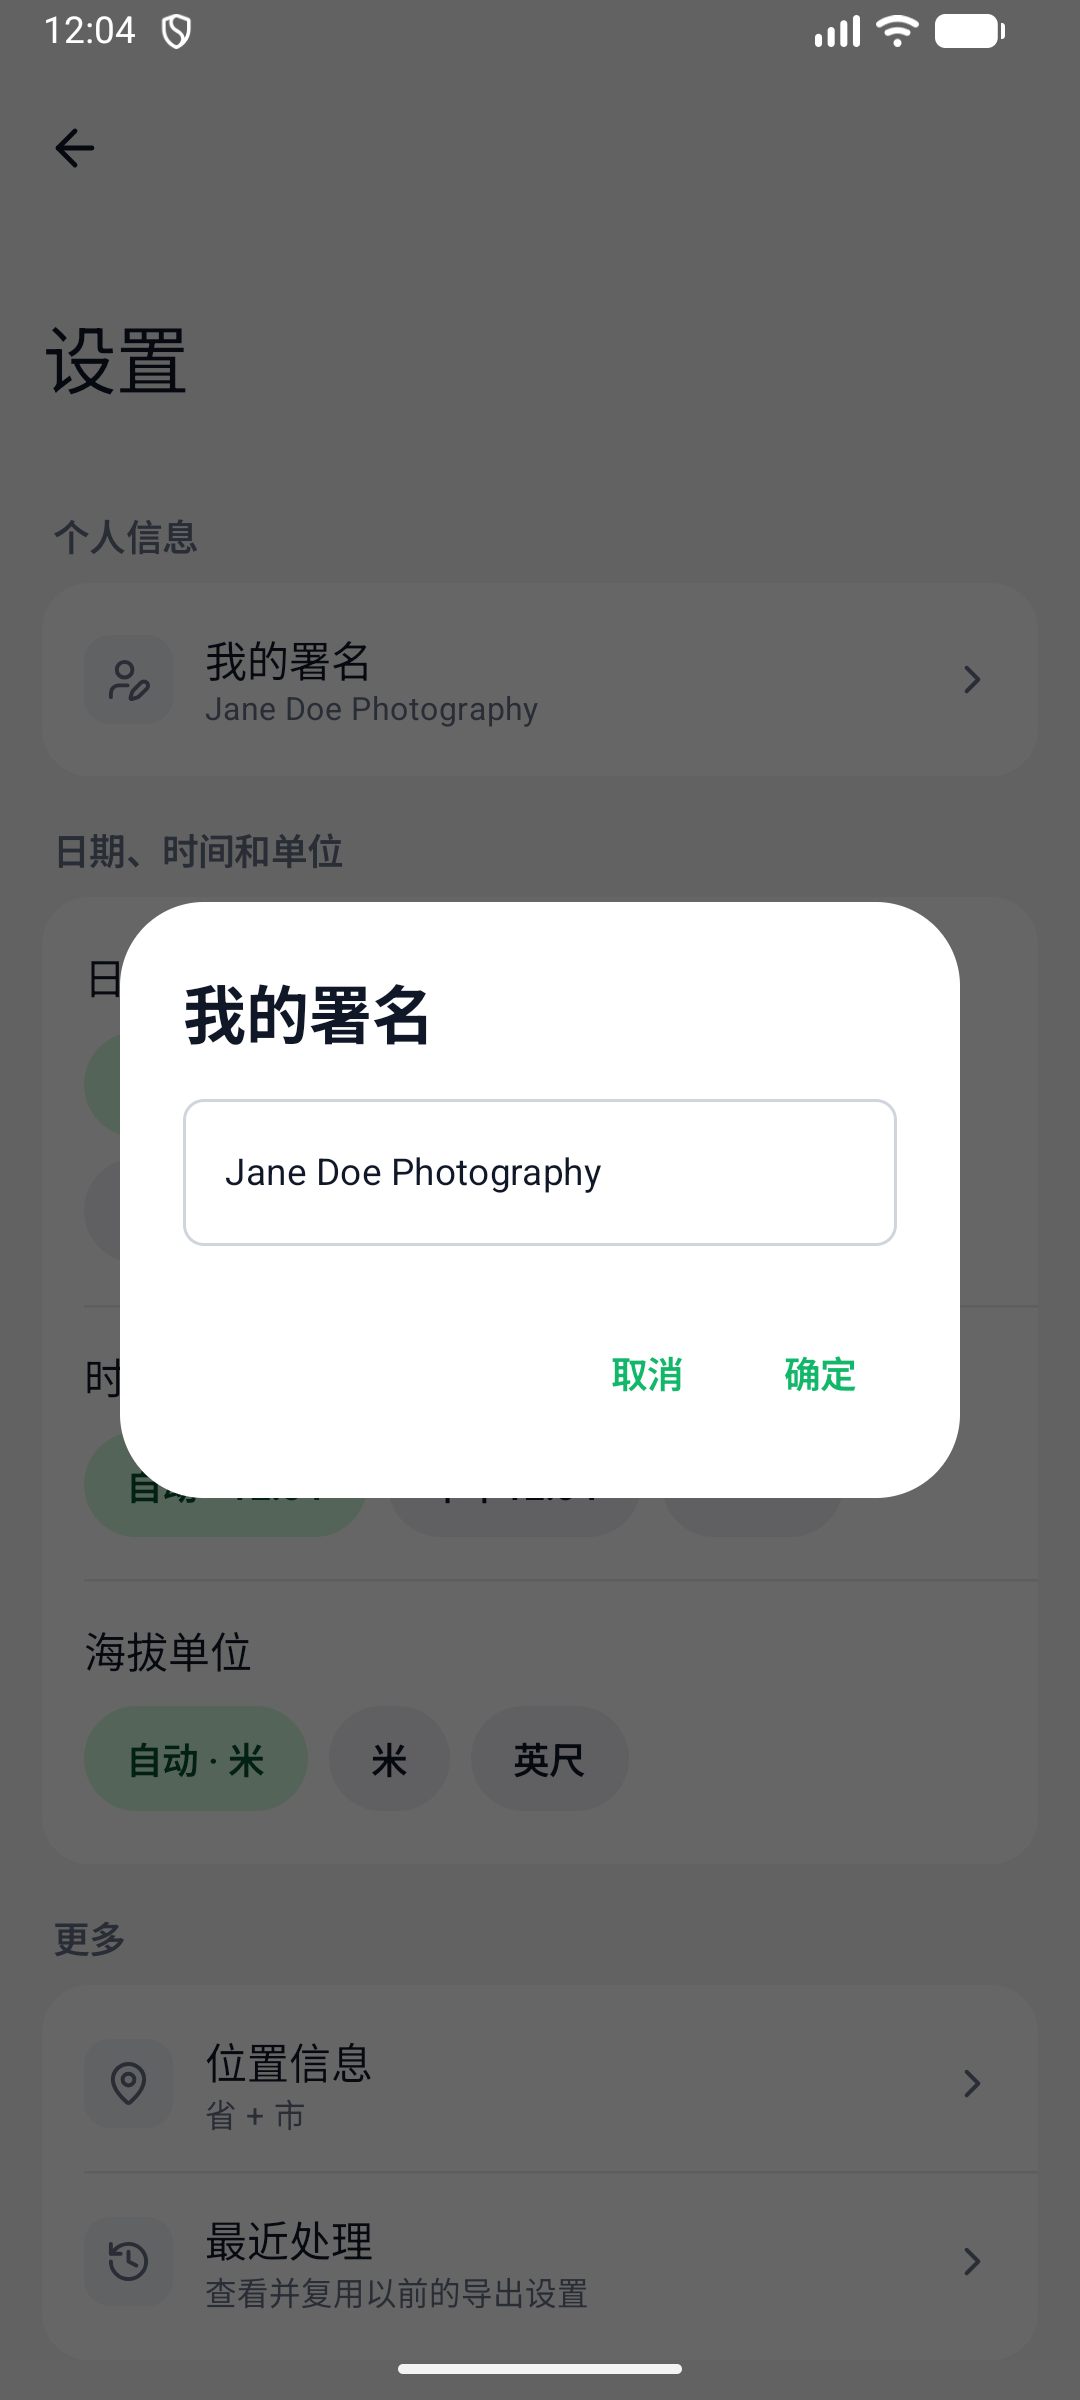
- 左上 ✕ 关闭编辑器(有未保存的修改时会提示),标题旁的铅笔图标可改图层名称。
- 撤销 / 重做 / 删除 在顶部,保存 在右上角。
- 在预览中可以直接 拖动 水印改位置;长按另一个水印可切换去编辑它。
① 内容
输入水印文字。方括号中的字段(如 [date]、[loc])会在导出时按每张照片分别替换。点 插入信息 打开字段列表,右侧显示当前照片的实际取值。
<figure class="shot mx-auto w-full flex flex-col rounded-2xl bg-white ring-1 ring-gray-200/60 p-3 shadow-[0_18px_40px_-28px_rgba(15,23,42,0.35)]" style="max-width:744px">
<a href="/assets/images/android/05-editor-content.webp" class="img-zoom img-overlay block rounded-xl ring-1 ring-gray-100" title="字段在编辑框中显示为带 ✕ 的标签">
<img src="/assets/images/android/thumbs/05-editor-content.webp" alt="内容" width="720" height="550"
loading="lazy" class="block w-full h-auto">
</a>
<figcaption class="mt-3 pt-3 border-t border-gray-100 text-center text-[13px] text-gray-500">字段在编辑框中显示为带 ✕ 的标签</figcaption>
</figure>
<figure class="shot mx-auto w-full flex flex-col rounded-2xl bg-white ring-1 ring-gray-200/60 p-3 shadow-[0_18px_40px_-28px_rgba(15,23,42,0.35)]" style="max-width:744px">
<a href="/assets/images/android/06-editor-insert-info.webp" class="img-zoom img-overlay block rounded-xl ring-1 ring-gray-100" title="插入信息:右侧为当前照片的实际取值">
<img src="/assets/images/android/thumbs/06-editor-insert-info.webp" alt="插入信息" width="720" height="840"
loading="lazy" class="block w-full h-auto">
</a>
<figcaption class="mt-3 pt-3 border-t border-gray-100 text-center text-[13px] text-gray-500">插入信息:右侧为当前照片的实际取值</figcaption>
</figure>
| 分类 | 可用字段 |
| 个人 | 我的署名 |
| 日期时间 | 拍摄日期、点分日期、长日期、胶片日期、时间、含秒时间、日期时间、星期、年 / 月 / 日、修改日期、原始日期 |
| 位置 | 位置、国家、省、城市、区、街道、地标、经纬度、海拔 |
| 相机(EXIF) | 相机品牌、型号、镜头、光圈、快门、ISO、焦距、拍摄参数 |
| 文件 | 文件名、扩展名 |
| 符号 | © ® ™ |
② 字体与颜色
<figure class="shot mx-auto w-full flex flex-col rounded-2xl bg-white ring-1 ring-gray-200/60 p-3 shadow-[0_18px_40px_-28px_rgba(15,23,42,0.35)]" style="max-width:744px">
<a href="/assets/images/android/07-editor-font.webp" class="img-zoom img-overlay block rounded-xl ring-1 ring-gray-100" title="字体、粗斜体下划线与对齐">
<img src="/assets/images/android/thumbs/07-editor-font.webp" alt="字体" width="720" height="540"
loading="lazy" class="block w-full h-auto">
</a>
<figcaption class="mt-3 pt-3 border-t border-gray-100 text-center text-[13px] text-gray-500">字体、粗斜体下划线与对齐</figcaption>
</figure>
<figure class="shot mx-auto w-full flex flex-col rounded-2xl bg-white ring-1 ring-gray-200/60 p-3 shadow-[0_18px_40px_-28px_rgba(15,23,42,0.35)]" style="max-width:744px">
<a href="/assets/images/android/08-editor-color.webp" class="img-zoom img-overlay block rounded-xl ring-1 ring-gray-100" title="颜色:文字、背景、侧边色条">
<img src="/assets/images/android/thumbs/08-editor-color.webp" alt="颜色" width="720" height="450"
loading="lazy" class="block w-full h-auto">
</a>
<figcaption class="mt-3 pt-3 border-t border-gray-100 text-center text-[13px] text-gray-500">颜色:文字、背景、侧边色条</figcaption>
</figure>
- 字体:内置默认、衬线、等宽、窄体、细体、手写等字体(左右滑动查看),也可以 导入字体。
- 颜色:先点选要改的对象——文字、背景(文字下方的圆角底板)或 侧边色条,再点色块或取色器选颜色。
③ 排版
<figure class="shot mx-auto w-full flex flex-col rounded-2xl bg-white ring-1 ring-gray-200/60 p-3 shadow-[0_18px_40px_-28px_rgba(15,23,42,0.35)]" style="max-width:744px">
<a href="/assets/images/android/09-editor-layout.webp" class="img-zoom img-overlay block rounded-xl ring-1 ring-gray-100" title="单一:九宫格定位、随机、随照片缩放">
<img src="/assets/images/android/thumbs/09-editor-layout.webp" alt="排版 - 单一" width="720" height="730"
loading="lazy" class="block w-full h-auto">
</a>
<figcaption class="mt-3 pt-3 border-t border-gray-100 text-center text-[13px] text-gray-500">单一:九宫格定位、随机、随照片缩放</figcaption>
</figure>
<figure class="shot mx-auto w-full flex flex-col rounded-2xl bg-white ring-1 ring-gray-200/60 p-3 shadow-[0_18px_40px_-28px_rgba(15,23,42,0.35)]" style="max-width:744px">
<a href="/assets/images/android/12-editor-tile.webp" class="img-zoom img-overlay block rounded-xl ring-1 ring-gray-100" title="平铺:水印铺满整张照片">
<img src="/assets/images/android/thumbs/12-editor-tile.webp" alt="排版 - 平铺" width="720" height="700"
loading="lazy" class="block w-full h-auto">
</a>
<figcaption class="mt-3 pt-3 border-t border-gray-100 text-center text-[13px] text-gray-500">平铺:水印铺满整张照片</figcaption>
</figure>
- 单一:用九宫格按钮把水印放到四角、四边中点或正中。随机 让每张照片的位置都不同,更难被裁掉;随照片缩放 让大图和小图上保持相同的相对大小(建议保持开启)。
- 平铺:把水印重复铺满整张照片,可开启 菱形虚线网格,间距在“调整”中设置。
④ 调整与 ⑤ 效果
<figure class="shot mx-auto w-full flex flex-col rounded-2xl bg-white ring-1 ring-gray-200/60 p-3 shadow-[0_18px_40px_-28px_rgba(15,23,42,0.35)]" style="max-width:744px">
<a href="/assets/images/android/10-editor-adjust.webp" class="img-zoom img-overlay block rounded-xl ring-1 ring-gray-100" title="调整:字号、透明、旋转、边距、行距、首行放大">
<img src="/assets/images/android/thumbs/10-editor-adjust.webp" alt="调整" width="720" height="450"
loading="lazy" class="block w-full h-auto">
</a>
<figcaption class="mt-3 pt-3 border-t border-gray-100 text-center text-[13px] text-gray-500">调整:字号、透明、旋转、边距、行距、首行放大</figcaption>
</figure>
<figure class="shot mx-auto w-full flex flex-col rounded-2xl bg-white ring-1 ring-gray-200/60 p-3 shadow-[0_18px_40px_-28px_rgba(15,23,42,0.35)]" style="max-width:744px">
<a href="/assets/images/android/11-editor-effects.webp" class="img-zoom img-overlay block rounded-xl ring-1 ring-gray-100" title="效果:可调透明、方向、模糊半径、深度">
<img src="/assets/images/android/thumbs/11-editor-effects.webp" alt="效果" width="720" height="730"
loading="lazy" class="block w-full h-auto">
</a>
<figcaption class="mt-3 pt-3 border-t border-gray-100 text-center text-[13px] text-gray-500">效果:可调透明、方向、模糊半径、深度</figcaption>
</figure>
点选上方一个参数芯片,再用滑块或 − / + 按钮精确调整。已开启效果时,底部“效果”图标上会出现小绿点。
| 效果 | 说明 |
| 阴影 | 柔和投影,让文字在亮背景上更清晰 |
| 发光 | 外发光,让水印从杂乱背景中浮出来 |
| 勾边 | 给文字描边 |
| 空心 | 只保留文字轮廓 |
| 打散 | 做旧、喷漆的斑驳效果 |
<figure class="shot mx-auto w-full flex flex-col rounded-2xl bg-white ring-1 ring-gray-200/60 p-3 shadow-[0_18px_40px_-28px_rgba(15,23,42,0.35)]" style="max-width:744px">
<a href="/assets/images/android/26-export.webp" class="img-zoom img-overlay block rounded-xl ring-1 ring-gray-100" title="输出格式、压缩品质与保存位置">
<img src="/assets/images/android/thumbs/26-export.webp" alt="导出设置" width="720" height="940"
loading="lazy" class="block w-full h-auto">
</a>
<figcaption class="mt-3 pt-3 border-t border-gray-100 text-center text-[13px] text-gray-500">输出格式、压缩品质与保存位置</figcaption>
</figure>
<figure class="shot mx-auto w-full flex flex-col rounded-2xl bg-white ring-1 ring-gray-200/60 p-3 shadow-[0_18px_40px_-28px_rgba(15,23,42,0.35)]" style="max-width:744px">
<a href="/assets/images/android/27-export-more.webp" class="img-zoom img-overlay block rounded-xl ring-1 ring-gray-100" title="扩展选项与文件后缀名">
<img src="/assets/images/android/thumbs/27-export-more.webp" alt="导出选项" width="720" height="850"
loading="lazy" class="block w-full h-auto">
</a>
<figcaption class="mt-3 pt-3 border-t border-gray-100 text-center text-[13px] text-gray-500">扩展选项与文件后缀名</figcaption>
</figure>
| 选项 | 说明 |
| 输出格式 | JPG、PNG24、PNG8、WebP、BMP、GIF、TIFF |
| 压缩品质 | 10 ~ 100,对 JPG 和 WebP 有效;点「对比压缩效果」可预览画质和文件大小 |
| 保存位置 | 默认 Pictures/Watermark,也可以选择其他文件夹 |
| 保留原文件日期 | 输出文件沿用原图的日期,相册中按原时间排序 |
| 删除 EXIF 信息 | 清除位置等元数据,只保留相机型号和拍摄时间 |
| 覆盖同名文件 | 关闭时,重名文件会自动加上 (1)、(2)… |
| 文件后缀名 | 不更改、大写 .JPG 或小写 .jpg |
更改尺寸
<figure class="shot mx-auto w-full flex flex-col rounded-2xl bg-white ring-1 ring-gray-200/60 p-3 shadow-[0_18px_40px_-28px_rgba(15,23,42,0.35)]" style="max-width:744px">
<a href="/assets/images/android/28-resize.webp" class="img-zoom img-overlay block rounded-xl ring-1 ring-gray-100" title="像素 / 百分比与常用尺寸">
<img src="/assets/images/android/thumbs/28-resize.webp" alt="更改尺寸" width="720" height="850"
loading="lazy" class="block w-full h-auto">
</a>
<figcaption class="mt-3 pt-3 border-t border-gray-100 text-center text-[13px] text-gray-500">像素 / 百分比与常用尺寸</figcaption>
</figure>
<figure class="shot mx-auto w-full flex flex-col rounded-2xl bg-white ring-1 ring-gray-200/60 p-3 shadow-[0_18px_40px_-28px_rgba(15,23,42,0.35)]" style="max-width:744px">
<a href="/assets/images/android/29-resize-mode.webp" class="img-zoom img-overlay block rounded-xl ring-1 ring-gray-100" title="六种更改尺寸模式">
<img src="/assets/images/android/thumbs/29-resize-mode.webp" alt="更改尺寸模式" width="720" height="1050"
loading="lazy" class="block w-full h-auto">
</a>
<figcaption class="mt-3 pt-3 border-t border-gray-100 text-center text-[13px] text-gray-500">六种更改尺寸模式</figcaption>
</figure>
开启 更改图像尺寸 后,可按 像素 或 百分比 设置目标尺寸,也可直接点选常用尺寸(小红书竖图、抖音竖屏、朋友圈方图、淘宝主图、4K 等)。先更改尺寸再加水印,所以水印在不同尺寸的输出上都清晰、比例一致。
| 模式 | 说明 |
| 最小尺寸(推荐) | 等比缩小到框内,不放大、不裁切 |
| 填充输出 | 等比缩放后用颜色填满目标尺寸 |
| 填充输出,不放大 | 同上,但小图不会被放大 |
| 剪切 | 等比缩放后裁掉多余部分,正好铺满 |
| 最大尺寸 | 等比缩放使图片覆盖目标框 |
| 拉伸 | 强制拉到目标尺寸,可能变形 |
重命名与对比压缩效果
<figure class="shot mx-auto w-full flex flex-col rounded-2xl bg-white ring-1 ring-gray-200/60 p-3 shadow-[0_18px_40px_-28px_rgba(15,23,42,0.35)]" style="max-width:744px">
<a href="/assets/images/android/30-rename.webp" class="img-zoom img-overlay block rounded-xl ring-1 ring-gray-100" title="重命名规则与编号">
<img src="/assets/images/android/thumbs/30-rename.webp" alt="重命名" width="720" height="800"
loading="lazy" class="block w-full h-auto">
</a>
<figcaption class="mt-3 pt-3 border-t border-gray-100 text-center text-[13px] text-gray-500">重命名规则与编号</figcaption>
</figure>
<figure class="shot mx-auto w-full flex flex-col rounded-2xl bg-white ring-1 ring-gray-200/60 p-3 shadow-[0_18px_40px_-28px_rgba(15,23,42,0.35)]" style="max-width:744px">
<a href="/assets/images/android/31-compare.webp" class="img-zoom img-overlay block rounded-xl ring-1 ring-gray-100" title="对比原图与输出的大小和压缩比例">
<img src="/assets/images/android/thumbs/31-compare.webp" alt="对比压缩效果" width="720" height="750"
loading="lazy" class="block w-full h-auto">
</a>
<figcaption class="mt-3 pt-3 border-t border-gray-100 text-center text-[13px] text-gray-500">对比原图与输出的大小和压缩比例</figcaption>
</figure>
开启 重命名输出文件 后编辑命名规则,可插入 序号、文件名、扩展名、修改日期、原始日期、拍摄日期;在 编号 中设置起始编号、递增数值和序号位数(例如 5 位时生成 00001),效果预览 显示前几张照片的新文件名。
开始处理
<figure class="shot mx-auto w-full flex flex-col rounded-2xl bg-white ring-1 ring-gray-200/60 p-3 shadow-[0_18px_40px_-28px_rgba(15,23,42,0.35)]" style="max-width:744px">
<a href="/assets/images/android/32-processing.webp" class="img-zoom img-overlay block rounded-xl ring-1 ring-gray-100" title="进度框显示当前文件和进度,可随时取消">
<img src="/assets/images/android/thumbs/32-processing.webp" alt="正在处理" width="720" height="560"
loading="lazy" class="block w-full h-auto">
</a>
<figcaption class="mt-3 pt-3 border-t border-gray-100 text-center text-[13px] text-gray-500">进度框显示当前文件和进度,可随时取消</figcaption>
</figure>
<figure class="shot mx-auto w-full flex flex-col rounded-2xl bg-white ring-1 ring-gray-200/60 p-3 shadow-[0_18px_40px_-28px_rgba(15,23,42,0.35)]" style="max-width:744px">
<a href="/assets/images/android/33-processing-done.webp" class="img-zoom img-overlay block rounded-xl ring-1 ring-gray-100" title="完成后可分享或查看输出结果">
<img src="/assets/images/android/thumbs/33-processing-done.webp" alt="处理完成" width="720" height="900"
loading="lazy" class="block w-full h-auto">
</a>
<figcaption class="mt-3 pt-3 border-t border-gray-100 text-center text-[13px] text-gray-500">完成后可分享或查看输出结果</figcaption>
</figure>
点击 导出 N 张照片 开始批量处理。单张照片失败不会中断整批处理,完成后显示成功和失败数量。